
Tutorial: Applying UV-Free Gel Wraps
PERFECT NAILS IN 10 MINUTES – WITHOUT A UV LAMP
HERE'S WHAT YOU'LL NEED
Everything you need to easily apply your UV-Free Gel Wraps.
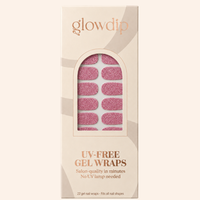
UV-Free Gel Wraps
Choose your favorite color or design
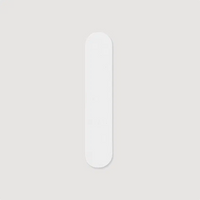
Nail File
For a neat finish on the wrap
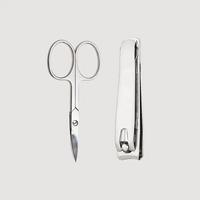
Scissors or nail clippers
To remove excess wrap
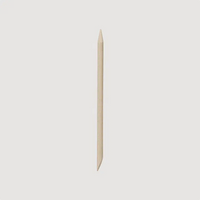
Wooden cuticle stick
For gently pushing back the cuticles
It takes a little getting used to, but after that it's even easier
1st Manicure
Just take a look. You'll love it right away.
The first time, you'll figure out which size fits each nail best and the easiest way to apply the wraps. Take your time to ensure a smooth finish.
2nd Manicure
Faster. More routine.
By now, you know your measurements and exactly how to position and finish the wraps. This makes the application process faster and faster.
3rd+ Manicure
Easy. Fast. Reliable.
You know your favorite sizes and routine by heart. In about 10 minutes, you can give yourself a complete manicure at home—without a UV lamp or drying time.
How to Apply UV-Free Gel Wraps
Follow these simple steps and create a sleek manicure in about 10 minutes—no UV lamp and no drying time required.
Tips & Tricks
With the right preparation, your UV-Free Gel Wraps will stay looking great longer.
Watch the tutorial first
Please review the instructions before applying the wrap. That way, you'll know exactly how to choose the right size, apply the wrap, and finish it neatly.
Make sure your nails are clean and dry
Apply the UV-Free Gel Wraps to nails that are completely clean and dry. Avoid using oil, cream, or other nail care products immediately before application.
Choose the right size
Choose a wrap that covers your nail without touching your skin or cuticles. If you're between sizes, go with the smaller size.
Give the wraps time to stick together properly
Avoid prolonged contact with water, oil, or hand cream immediately after application. This gives the UV-Free Gel Wraps the best chance to adhere properly.
Step-by-Step Guide
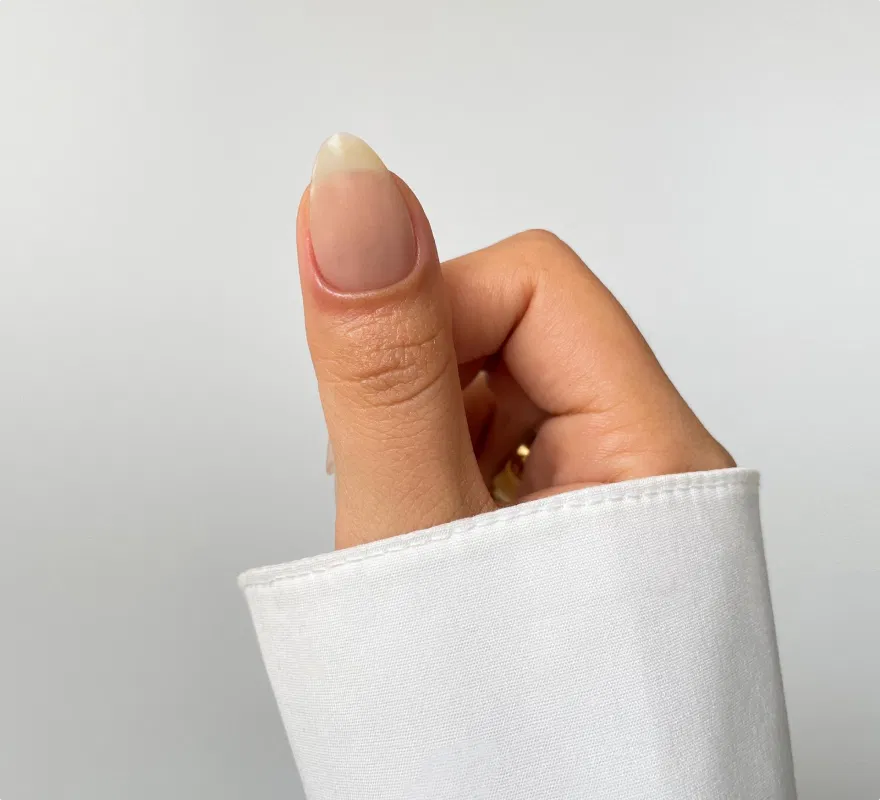
Step 1
PREPARE YOUR NAILS PROPERLY
- Apply your UV-Free Gel Wraps preferably before bedtime. This allows them to adhere even better.
- Wash your hands, dry them thoroughly, and wait a few minutes before you begin.
- Gently push back your cuticles with the wooden cuticle stick.
- Lightly buff or file your nail plate until the natural shine is gone.
- Clean each nail thoroughly with the prep wipe.
- Afterward, touch your nails as little as possible for the best adhesion.
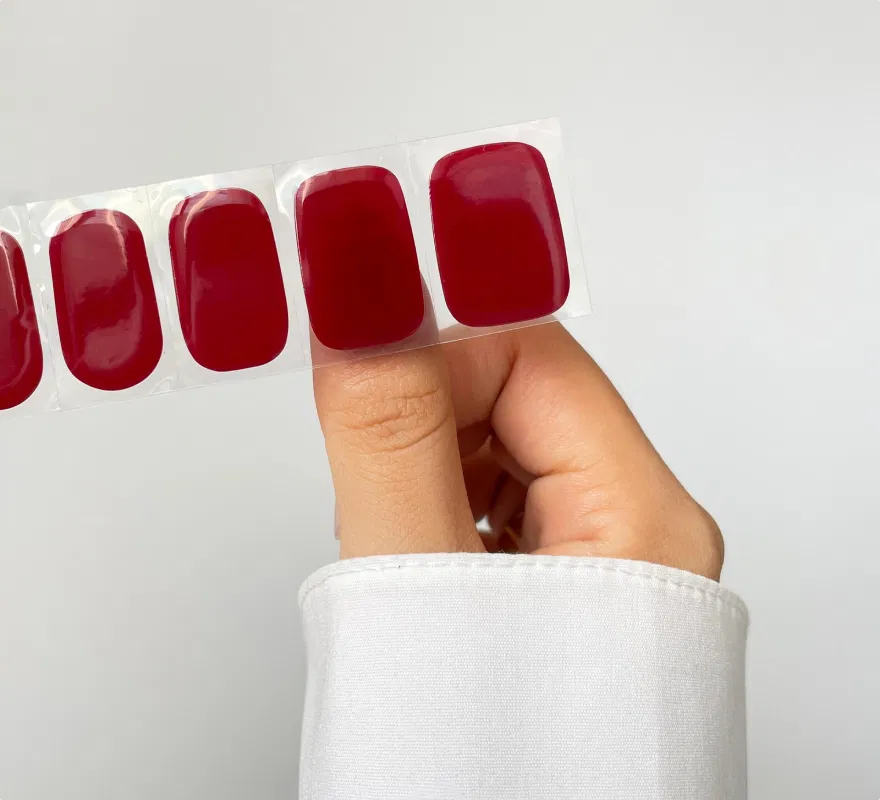
Step 2
CHOOSE THE RIGHT WRAPS
- Choose the wrap that fits best for each nail.
- If you’re unsure between two sizes, go with the slightly smaller one for the most beautiful and natural-looking result.
- The wraps are flexible and mold nicely to your nail.
- Make sure the wrap doesn’t touch your skin or cuticles. This way, it adheres better and stays in place longer.
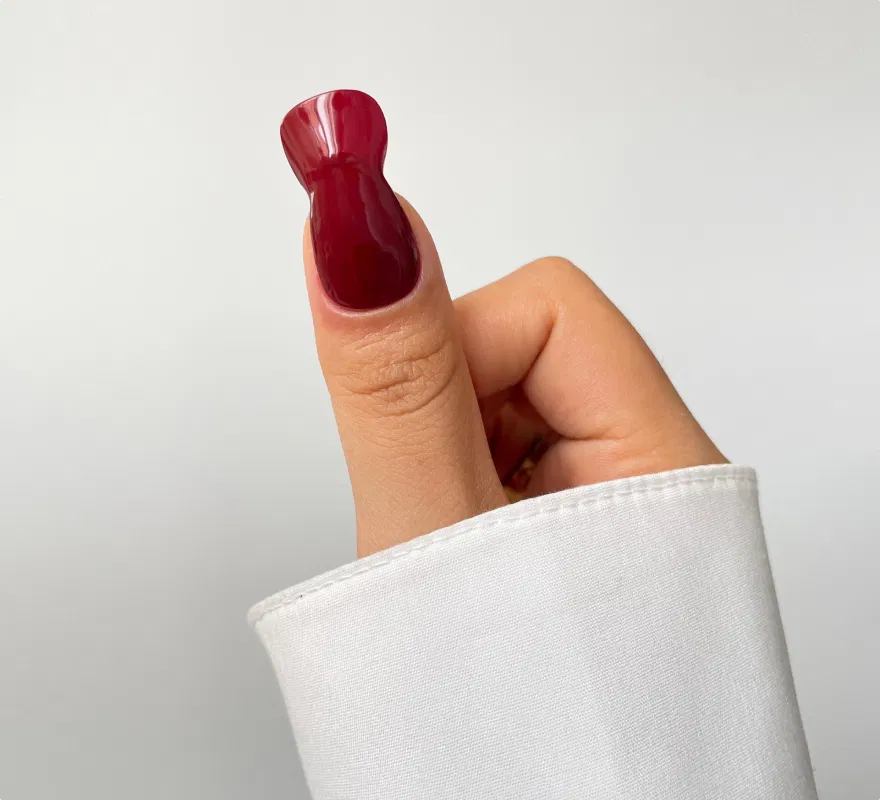
Step 3
HEAT, PLACE, & PRESS
- Heat the sheet of UV-Free 2Gel Wraps for about 10 seconds with a hair dryer. The heat makes the wraps more pliable and helps them adhere better.
- Carefully peel off the chosen wrap and place it about 1 mm from your cuticle.
- Start in the center and then firmly smooth the wrap out toward the sides. Make sure there are no air bubbles or wrinkles.
- Press the wrap firmly for about 15 seconds, especially along the edges, for optimal adhesion.
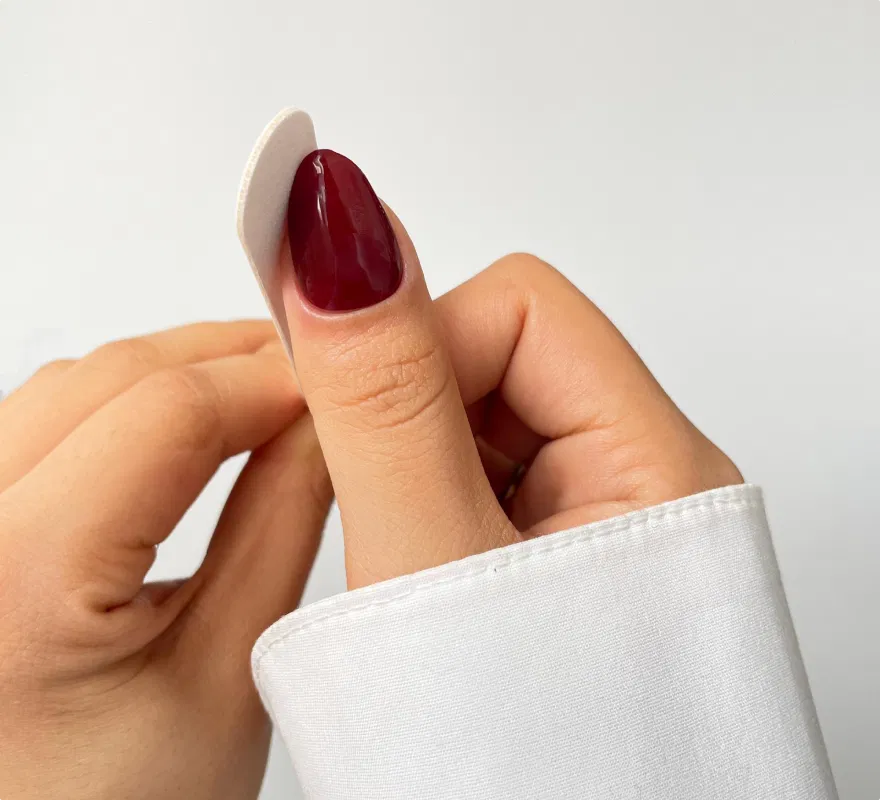
Step 4
Shaping & Filing
- Carefully trim off the excess portion of the wrap with nail scissors or nail clippers.
- Fold the small protruding edge over the free edge of your nail, then gently file it down until the wrap lies exactly flush with your nail.
- Next, heat the UV-Free Gel Wrap for about 10 seconds with a hair dryer.
- Press the wrap firmly for another 15 seconds, especially along the edges, to ensure optimal adhesion.
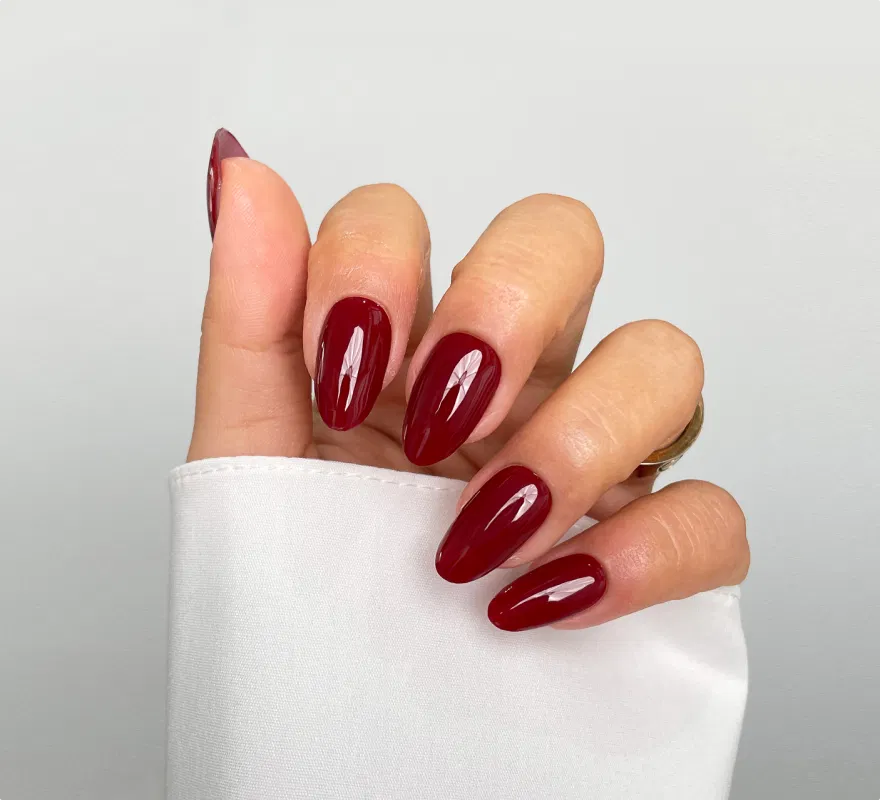
Step 5
MAKE SURE THEY STICK WELL
- Avoid contact with water for the first 2–3 hours and postpone any heavy manual labor for the time being. It’s best to wait to shower, do the dishes, or clean.
- Avoid applying oil, hand cream, or other skincare products around your nails immediately after application.
- Give the UV-Free Gel Wraps a few hours to bond properly. This will reduce the risk of premature peeling and allow you to enjoy your manicure longer.